|
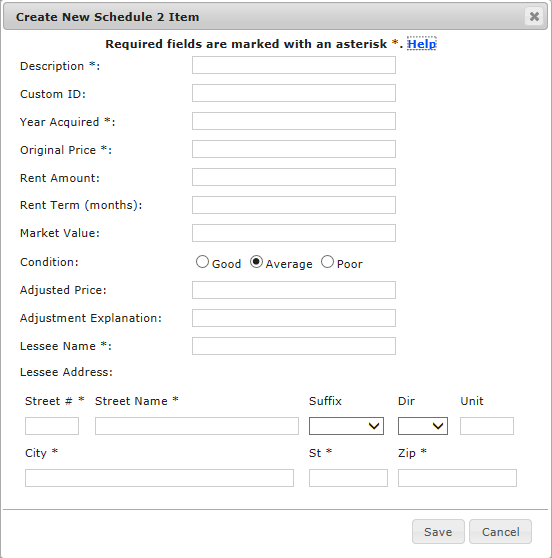
Description*: A brief description of the leased item. For example, "Cannon 3200G Copier" or "Kubota Fork Lift".
Custom ID: This is a user defined field. It can be used to enter a number/description internal to your organization or identifying information such as a serial number . The Custom ID will be saved with the item and will be retrieved from the property appraiser system when filing next years return.
Year Acquired*: The 4-digit year that the lease began.
Original Price*: The original purchase price of the asset.
Rent Amount: Rent amount is the monthly rent paid for the leased item.
Rent Term (months): Rent term is the length of the lease, expressed as the number of months.
Market Value: Market Value is the property owner's estimate of the fair market value of the asset in its current condition.
Condition: Condition is the property owner's opinion of the condition of the asset. Choose "Good", "Average", or "Poor" from the drop down menu.
Adjusted Price: Adjusted Price is not required. Use this field only if there is a reason that the price of this asset has changed in a way that would not be reflected by the normal trends and depreciation that would typically be associated with the item. For example, if a portion of the asset had been sold and the remainder had been retained.
Adjusted Explanation: Adjustment Explanation is only required if you entered data under "Adjusted Price". Please provide a brief explanation of why the Adjusted Price should be considered in lieu of the original price. For example, if a portion of the asset had been sold and the remainder had been retained.
Lessee Name*: The Lessee is the name of the person or company renting the equipment.
Lessee Address*: Lessee Address is the physical location of the equipment.
|