Schedule 2 Tab
If you own equipment that is out on loan, rental, or lease basis to others as of January 1, complete Schedule 2 (shown below). Use the New button to add new items, the Edit button to edit an item, and the Delete button to delete an item. The column headings with double arrows are sortable, and can be sorted by clicking on the column heading. Clicking a second time will reverse the sort order. The currently sorted column's heading will be highlighted white, and the arrow will change to a single arrow indicating the sort direction.
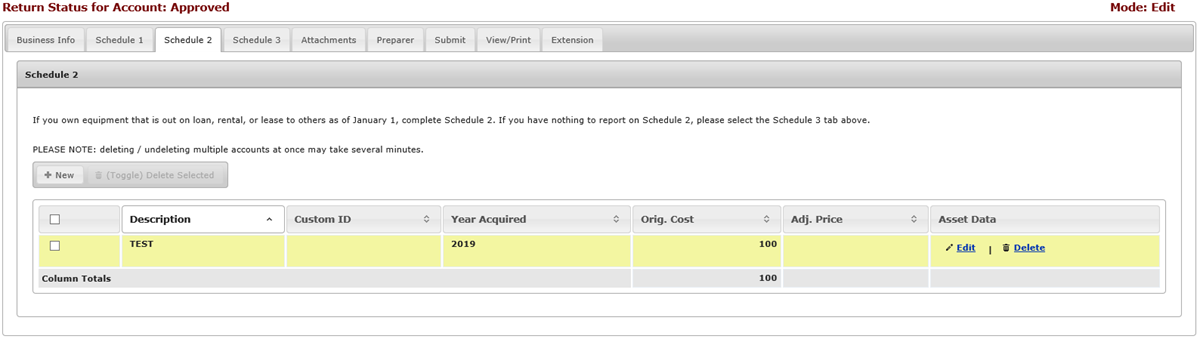
In the screen shot above, you will see the Delete Selected (Toggle) button is grayed out. This is because there are no items chosen to delete. If you had checked any items in the delete box, this button would have been available to use.
You may also sort the columns using the arrows in the column heading. The default sort is alphabetical by description, however, you may sort the other columns in order to find the necessary asset(s) to make your changes.
You can navigate the asset(s) by using the icons at the bottom of the page for first page, previous page, next page and last page. You can also type the page number into the text box to go directly to the necessary page.

NOTE: Rows for new items in the return will be highlighted green.